How To Make a Fake Tattoo With a Sharpie? – A Step By Step Guide
Have you ever thought how cool it would be to get a tattoo, but then, you remember all the hassle surrounding such a process. Tattoos hurt, require time and commitment to properly heal, and they can cost you a fortune as well. If there was only a way to get a tattoo experience without actually getting tattooed? Well, fake Sharpie tattoos are the answer you’re looking for!
In the following paragraphs, we’ll guide you through a simple process of a fake Sharpie tattoo. So, if you’re looking for a temporary, commitment-free tattoo experience, you’re at the right place!
Fake Sharpie Tattoo Guide
Everything You’ll Need
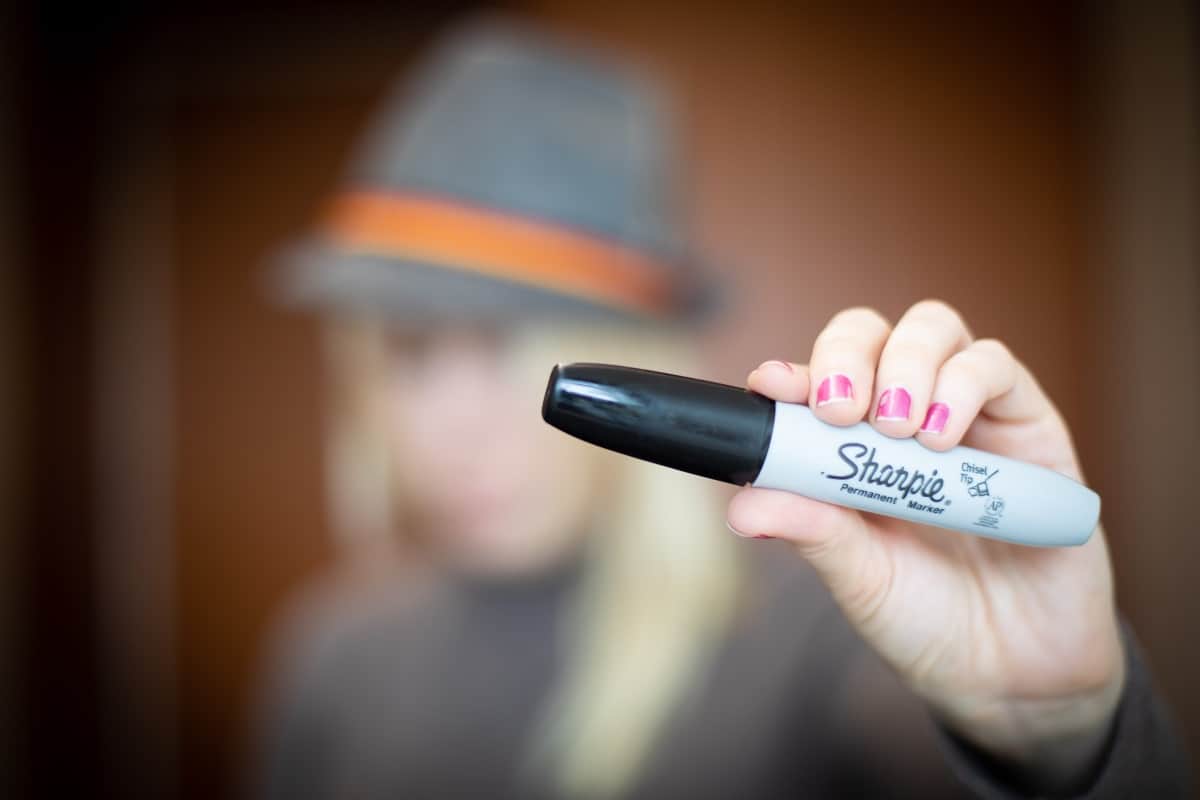
- A Sharpie pen (in any color you want, but black is the best go-to Sharpie color)
- Tattoo or ink pencil
- Tattoo design image
- Baby powder or face setting powder
- A tracing paper
- Scissors
- Rubbing alcohol (if you’re not allergic or have a skin condition)
- Clear gel deodorant (do not go for a spray deodorant)
- Cotton swabs
- Fine pen for detailing
If you don’t have any baby or face-setting powder, feel free to use corn starch as an alternative. People have also used baking soda, rice starch, and even oat flour as a suitable alternative to baby powder.
Also, we always recommend people use professional tattoo tools when doing fake tattoos on their own. For example, it is always better to go for a pro tattoo ink pencil than some regular pencil you found randomly in the house. This way you can be sure the tattoo pen won’t harm your skin or introduce any toxic or infectious particles to the skin.
Step to Step Guide – Here’s What You’ll Do!
Step 1
Find the tattoo design you like; go for a picture or an image you want to recreate as your tattoo; make sure to have it printed. We recommend you go for simpler designs for your first try, just to get a grip of the process and see whether you like this method or not. Simpler, smaller designs will do the best for now.
Read:
Step 2
Place a sheet of tracing paper over the tattoo design image. Use a pen (the one we recommended for detailing) and trace out the design onto the paper. Then, use the tattoo or ink pencil to trace the image again.
Step 3
Once you’re done tracing out the image, it is time to cut the design out. Use the scissors and cut the design out, leaving ½ inch of the paper along the edges of the design. This will leave room for mistakes, and won’t risk you messing up the design by cutting too close.
Step 4
Choose the designated tattooing area on your body; we recommend easily accessible areas, like your arm, legs, stomach, etc. Once you have chosen the tattoo placement, clean the area, and then rub it using deodorant. This will help the design stick to the skin.
Step 5
Place the cut-out tattoo design onto the skin, turning the pencil side onto the skin. Keep for a few seconds and make sure to press firmly, until the image transfers onto the skin. Use a cotton swab dipped in rubbing alcohol to clean any mess or blurred lines.
Step 6
Leave the tattoo to firm up and dry. Then, take a Sharpie and trace out the tattoo lines again, now adding color and dimension, as well as detailing and linework. Make sure to use a non-toxic Sharpie, preferably in black colors, but you can go for any color that you want. Permanent Sharpies can sometimes cause some skin issues, so stay away from the toxic Sharpies.
Step 7
Once you’re satisfied with the way your tattoo looks, make sure to cover with lightly with some baby powder, or any other powder alternative at your disposal. This will help the Sharpie set and prevent it from smudging or moving in the next day or two.
A Simpler Way Of Getting a Sharpie Tattoo
If the aforementioned guide seems too complicated for your taste, we also have a simpler alternative for you.
All you have to do is the following;
- Choose the area for tattoo placement and clean it using rubbing alcohol or any other form of disinfection (cleaning wipes or antibacterial soap).
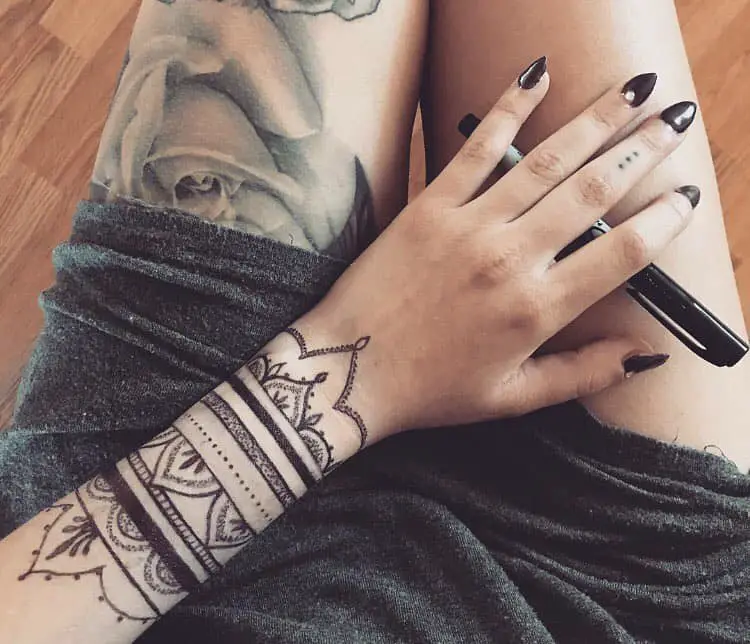
- Use a Sharpie to draw a tattoo design directly onto the skin. Make sure to take your time with the drawing. If it’ll help, have a tattoo design print next to you, to help you stay on track with the drawing.
- Let the Sharpie dry and set for a few seconds, to prevent it from moving and smudging.
- Then, use some baby powder or any other powder alternative and coat the tattoo lightly. This will help the Sharpie set even better and prolong the tattoo’s longevity.
- If you really want the tattoo to stay and stick, you can even coat everything using a hairspray. Go lightly with the spray; you don’t want your tattoo to be a sticky mess later on. Not to mention that hairspray dries out the skin, so make sure to clean the sprayed areas of the skin surrounding the tattoo using a cotton swab and some water.
Sharpie Tattoos – FAQs
How Long Do Sharpie Tattoos Last?
Temporary tattoos generally last between 5 and 10 days, depending on the materials and methods used to make them. A Sharpie tattoo can last between 4 and 7 days, depending on the marker and your daily activities. If you expose the tattoo to water regularly, or if it’s exposed to friction, it will last only a few days. So, depending on your daily activities, a Sharpie tattoo can last you up to a week.
Are Sharpie Tattoos Harmful To The Skin?
Sharpie or marker temporary tattoos can be harmful in case you’re using a low-quality, permanent, and highly toxic marker. Generally, such markers can cause skin irritation or trigger a skin condition in people with hypersensitive skin. The problem with these markers lies in the very ingredients; for example, in permanent markers, you can find;
- N-probapnol and n-butanol – known to cause eye, nose, and throat infections
- Cresol – known to cause contact dermatitis
- Diacetone alcohol – known to cause eye irritation
- Xylene – known to cause nerve damage, respiratory damage, and cardiovascular issues (found in King Size Sharpie, Magnum Sharpie, and Touch-Up Sharpie).
- Azo dyes – known to cause skin allergic reactions (found in red markers)
So, always make sure to go for a non-toxic Sharpie or marker. Such markers have an ACMI ‘ non-toxic’ label, which means they’re safe for use, even for children. And, if you have sensitive skin or a skin condition, like eczema or psoriasis, do not use markers to create a tattoo at all. Sharpie Fine Point markers are considered non-toxic and safe for skin contact, eyes, inhalation, or ingestion (in the case of children).
Do I Need To Reapply the Powder or Hairspray?
Once you complete a Sharpie tattoo, the baby powder or hairspray coating will last for the day, or until you have a shower. After that, you will need to reapply either the powder or the hairspray to keep the marker set and in place. Otherwise, it will smudge and look pretty messy, especially after exposure to water.
How Can I Remove a Sharpie Tattoo?
One way you can remove a Sharpie tattoo is to simply let it wear off; after all, it will last you only up to a week, in the best case. However, if you really want to get rid of it, then use baby oil or any similar mineral oil. The oil will help loosen the marker pigment molecules, which will make them easier to wash off alter. Use soap and lukewarm water to wash the marker off.
We also recommend you use ethanol or grain alcohol or even hand sanitizer gel to get rid of a Sharpie tattoo. We recommend you avoid using rubbing alcohol for this, to avoid skin irritation and undesirable chemicals getting into your bloodstream (since rubbing alcohol penetrates the skin).
Conclusion
Sharpie tattoos are an excellent way to experience the feeling of having a tattoo, without the pain, aftercare, and high cost. With these fake, temporary tattoos, there is no commitment, and you can get rid of the Sharpie whenever you want. Just remember to be careful with the markers in case of sensitive skin or allergic reactions. If you notice any kind of skin irritation or side effects, wash off the Sharpie, seek medical attention, or talk to your dermatologist.
Also Read: How To Make a Temporary Tattoo With Perfume: A Step-by-Step Guide
- Safe, non-toxic plant-based temporary tattoos made with 100% high-definition printing for a realistic look without the pain
- Easy to apply and remove - just stick for 20 seconds then take off
- Set includes 5 sheets with 17 fun, delicate designs like hearts, cats, smiles, suns, moons, and more
- Waterproof and long-lasting - stays on up to 2 weeks of wear
- Fashionable for women, men, girls and boys
- Place on arm, wrist, neck, leg, finger, waist, foot and more
- Great for parties, birthdays, and showing your unique style

